
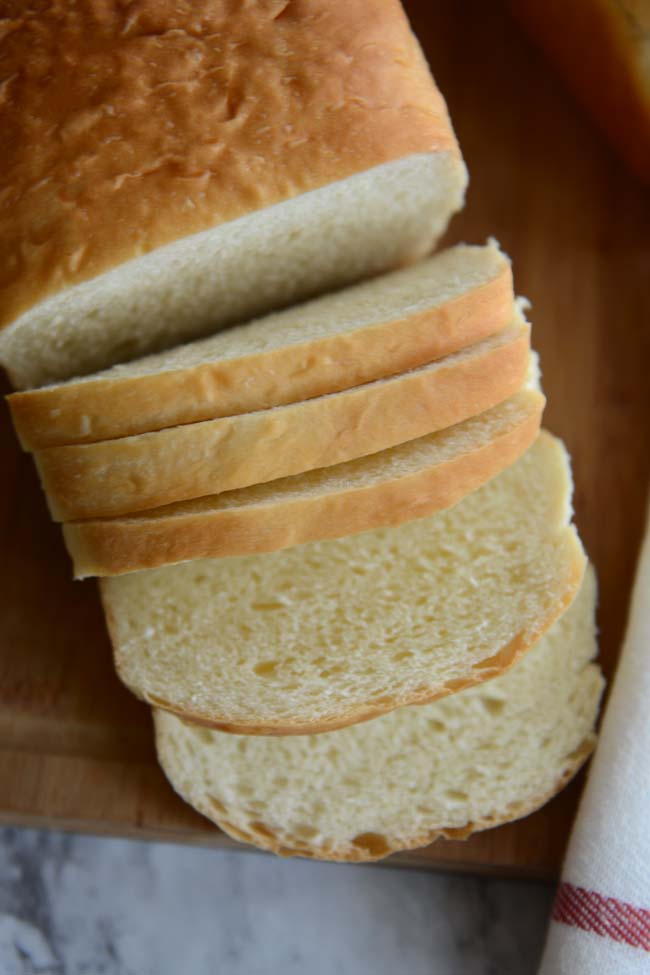
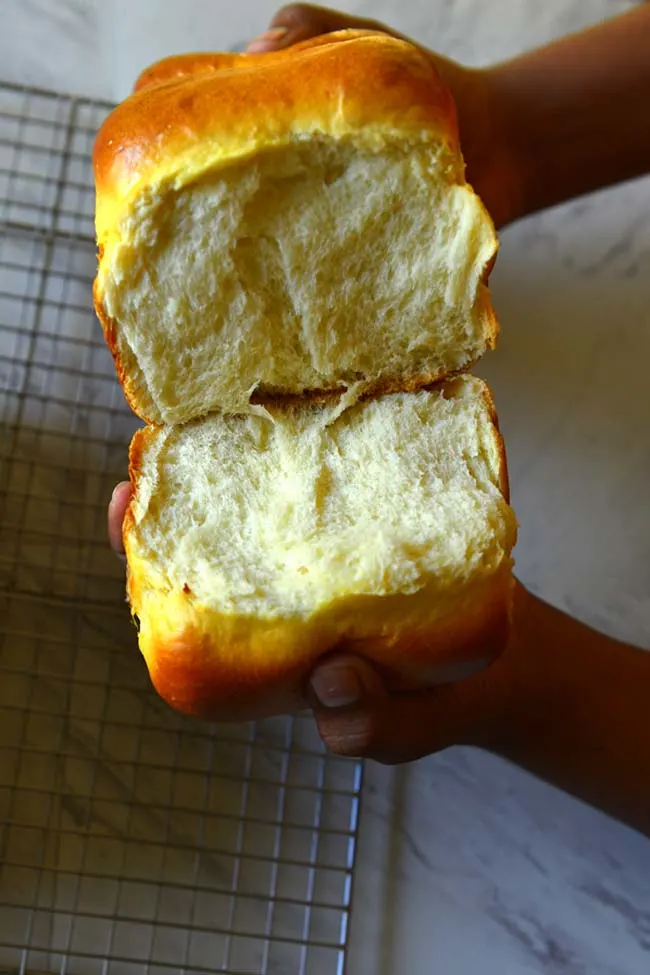
Milk Bread is great for sandwiches, as breakfast toast, bread pudding or just as an in-between snack. This version is made with Herman Starter making the usual soft and mildly sweet flavors more complex.


Recently I posted about Herman starter. It is an easy starter to make and a wonderful lesson on how things transform in nature. Once you have your sweet starter there are many ways to use it. This is one of many, with just a few ingredients.
Milk breads are wonderful and especially loved by kids. Baking milk breads create this wonderful aroma that is much more appetizing than that of regular bread. Adding Herman starter makes this bread taste and feel more enriched without adding extra fat or eggs.
You heard it right – this is a very soft bread without eggs and a lot of butter. I tbsp per and 9 X 5 loaf. It is definitely leaner than my other favorite milk bread – Hokkaido Milk bread. Hokkaido milk bread is another delicious recipe to try if you haven’t already.
‘Mom this bread is amazeballs’ was the review. So whenever I make it I make at least 2 large loaves and if I am lucky it will last 2 days. In a few years my kids will be over their growing stages and maybe I have to think about freezing 1 loaf. But until then it is 2 loaves for a day or 2.
On Loaf Pan Sizes
The recipe below is written for 2 large loaves. The pans I use here are 9 in X 5 in loaf pans. These are usually used for 1 ¼ to 1 ½ lb loaves. If you have standard pans measuring 8 in X 4 in the loaves would spill out quite a bit and you will get a large mushroom top. Alternately you could use 3 pans and make smaller loaves.
These can also be braided and baked without a pan. The key to remember is that when changing the baking pan adjust the time accordingly. When in doubt turn the oven light on and keep an eye on the loaf at least 10 minutes earlier than what the recipe calls for.

On Kneading
Personally, I enjoy making this bread by hand. Kneading the bread and feeling the dough transform in your hands is a wonderful experience and many home bakers refuse to use a machine until their arthritic hands literally refuse to move. I am not that picky, I do love the feel of the dough, but I hate having to attend to a bleeding wound or a chipped tooth or impending annihilation of the universe in the middle of kneading. So often time I resort to my trusty kitchen aid.
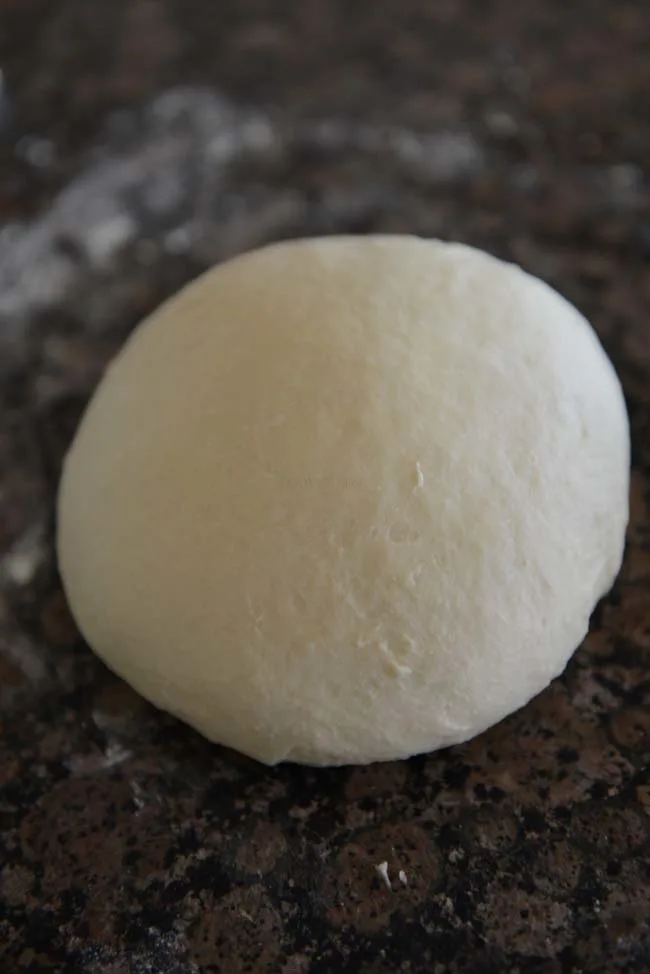
This dough starts out as wet and bit sticky. By the end of kneading, we are looking for a soft slightly wet, in a non-sticky kind of way, dough. It should feel soft and supple and should have an ever so slight give. In other words, if you form it into a ball and place on the counter it should flatten a little but not stick to the surface.
Then There Is Timing
Pure sourdough bread is more time consuming than standard yeast bread. Which is not surprising as the commercial yeast strain was isolated with the sole purpose of saving time. It does nothing to enhance flavor or nutrition. Check out my simple sourdough loaf – it takes 5 hours or more from start to finish.
The starter here is made with commercial yeast, but it also has bacterial content (acids) which flavorful. The bread recipe calls for additional active dry yeast as well. This cuts down the total time, in other words, we have the best of both worlds.

What if I don’t have 3 hours?
The one not so secret rules that bakers swear by is that the ‘longer rising times means more flavor’. The added plus is that with really long rising times you can get away with pretty much no kneading (no Knead ). So if you do not have a block of 3 hours when you can tend to bread making, cut down on the yeast by 50% to 75% and let the dough rise slowly in the fridge.
Rising in the fridge is important. The dough has a good amount of dairy and even though it is bound to other substances, under warm conditions it is an inviting feeding ground for all the wrong kind of bacteria and mold.
I was planning to post a video of the recipe – but well I really enjoyed the kneading by hand the video got very shaky. I promise to add one soon.

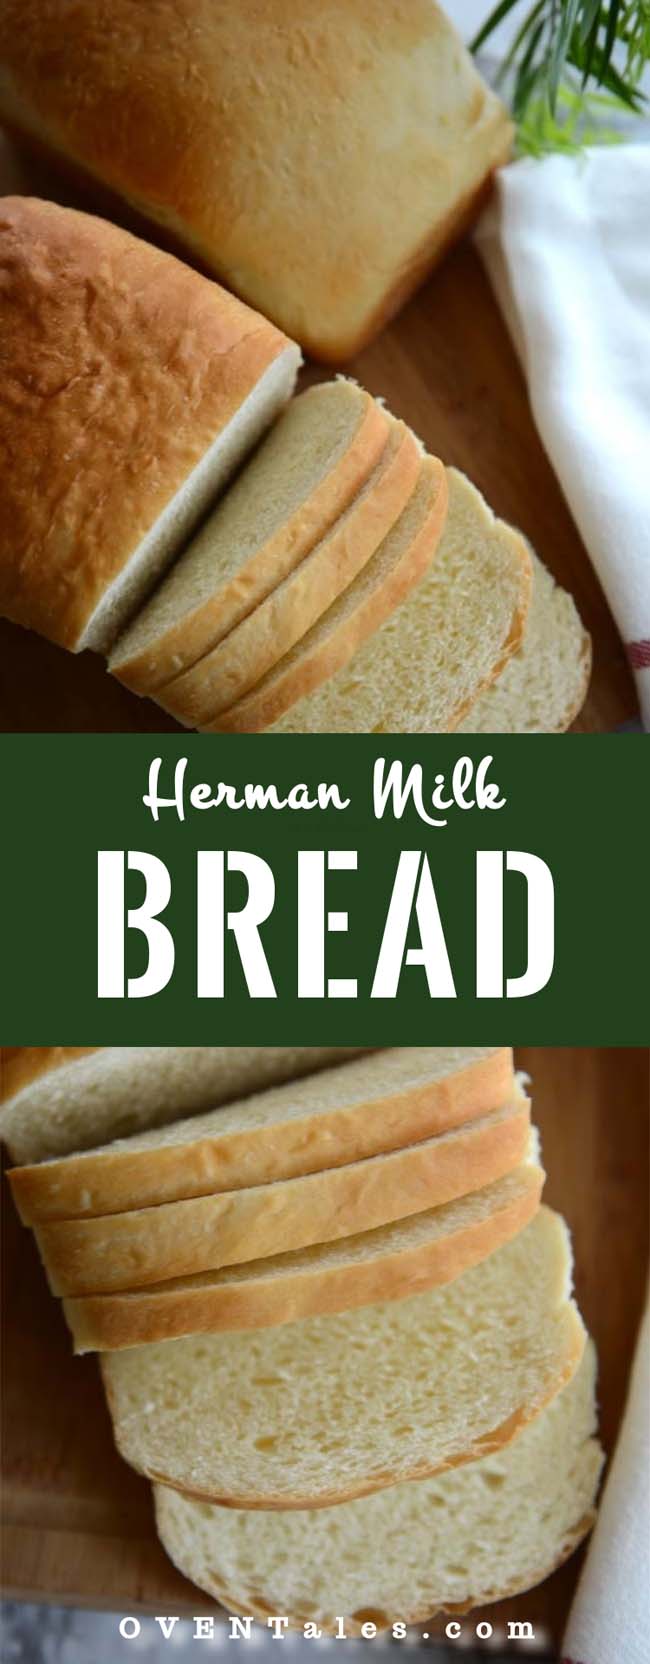
Herman Milk Bread
Ingredients
- 6 C AP Flour (+ 1/2 as needed) Notes
- 2 C Herman Starter Notes
- 2 Tsp Fine Salt
- 4 Tsp Active Dry Yeast
- 1 ½ C Milk, Preferably Whole Milk
- 2 Tbsp Butter
Instructions
Make the dough by hand
- Take 6 C of the flour in a large mixing bowl. Make a well in the center of the flour and add the starter, and yeast. Mix in gently. To this add ¾ of the milk, salt, and the melted butter. Mix in slowly adding more milk if needed. Once all the flour has become moist turn out to floured work surface. Start kneading. The dough might be sticky in the beginning. Add the remaining half cup flour little by little if needed. As you need the dough becomes less sticky and slowly begins to turn into a smooth lump. When it feels relaxed, smooth and supple it is time to stop kneading.
Make the dough in machine
- In the bowl of the machine place 6 C flour, salt and yeast. Keep the salt and yeast from direct contact. Fit the dough hook and stir for 15 seconds to mix everything together. Remove the hook and make a well in the center of the flour. Add the starter, melted butter, and ¾ of the milk. Place the hook back on and knead at the recommended setting for 1 minute. If needed add the remaining milk slowly as needed. Knead for 2 minutes at the end of which add remaining flour in batches if the dough looks too wet. Knead until the dough turns into a smooth lump ( 4 to 5 minutes in total). Turn off and check the dough. It should feel relaxed, smooth and supple.
First Rise (Bulk Proof)
- Form the dough into a smooth ball and transfer to an oiled bowl. Turn it so that all the sides of the dough is coated with oil. Cover and let it rise in a warm place until doubled in volume (about 1 hour).
Shape and Second rise
- Punch down and transfer the dough on to a floured surface. Divide into equal halves. Take one half and flatten (or roll out ) half into a rectangle. Roll into a tight cylinder. Tuck in the edges. Place in an the oiled loaf pan with the seam side down. Repeat with the other half. Cover and let rise until almost doubled (20 to 30 minutes).
Bake
- While the loaves are rising preheat the oven to 350°F (175°C ). Remove the cover from the risen loaves and place the loves in the hot oven. Bake for about 30 minutes. Tap the bottom of the loaf to check if it is done baking. It should sound hollow when fully cooked. tapped at the bottom. The internal temperature of this bread should be between 190F to 200F (closer to 200F) when it is cooked through.
- Remove from the oven and let rest in the pan for 5 minutes. Transfer from the pan to a cooling rack and let cool completely before slicingSlice and store in freezer bags or cover and store at room temp for a day or two.
Notes
- Stir the starter well before measuring.
- 4 Tsp yeast is a little less than 2 packets of yeast. 1 Pkt yeast is about 2 ¼ Tsp. You can use 2 packets of yeast in this recipe without any trouble.
- For temperature conversion when using different types of oven try this link.
Important: Nutrition Values are estimates. Actuals vary based on ingredients and serving size.


All About Tangzhong | OVENTales
Saturday 11th of July 2020
[…] Herman Milk Bread […]